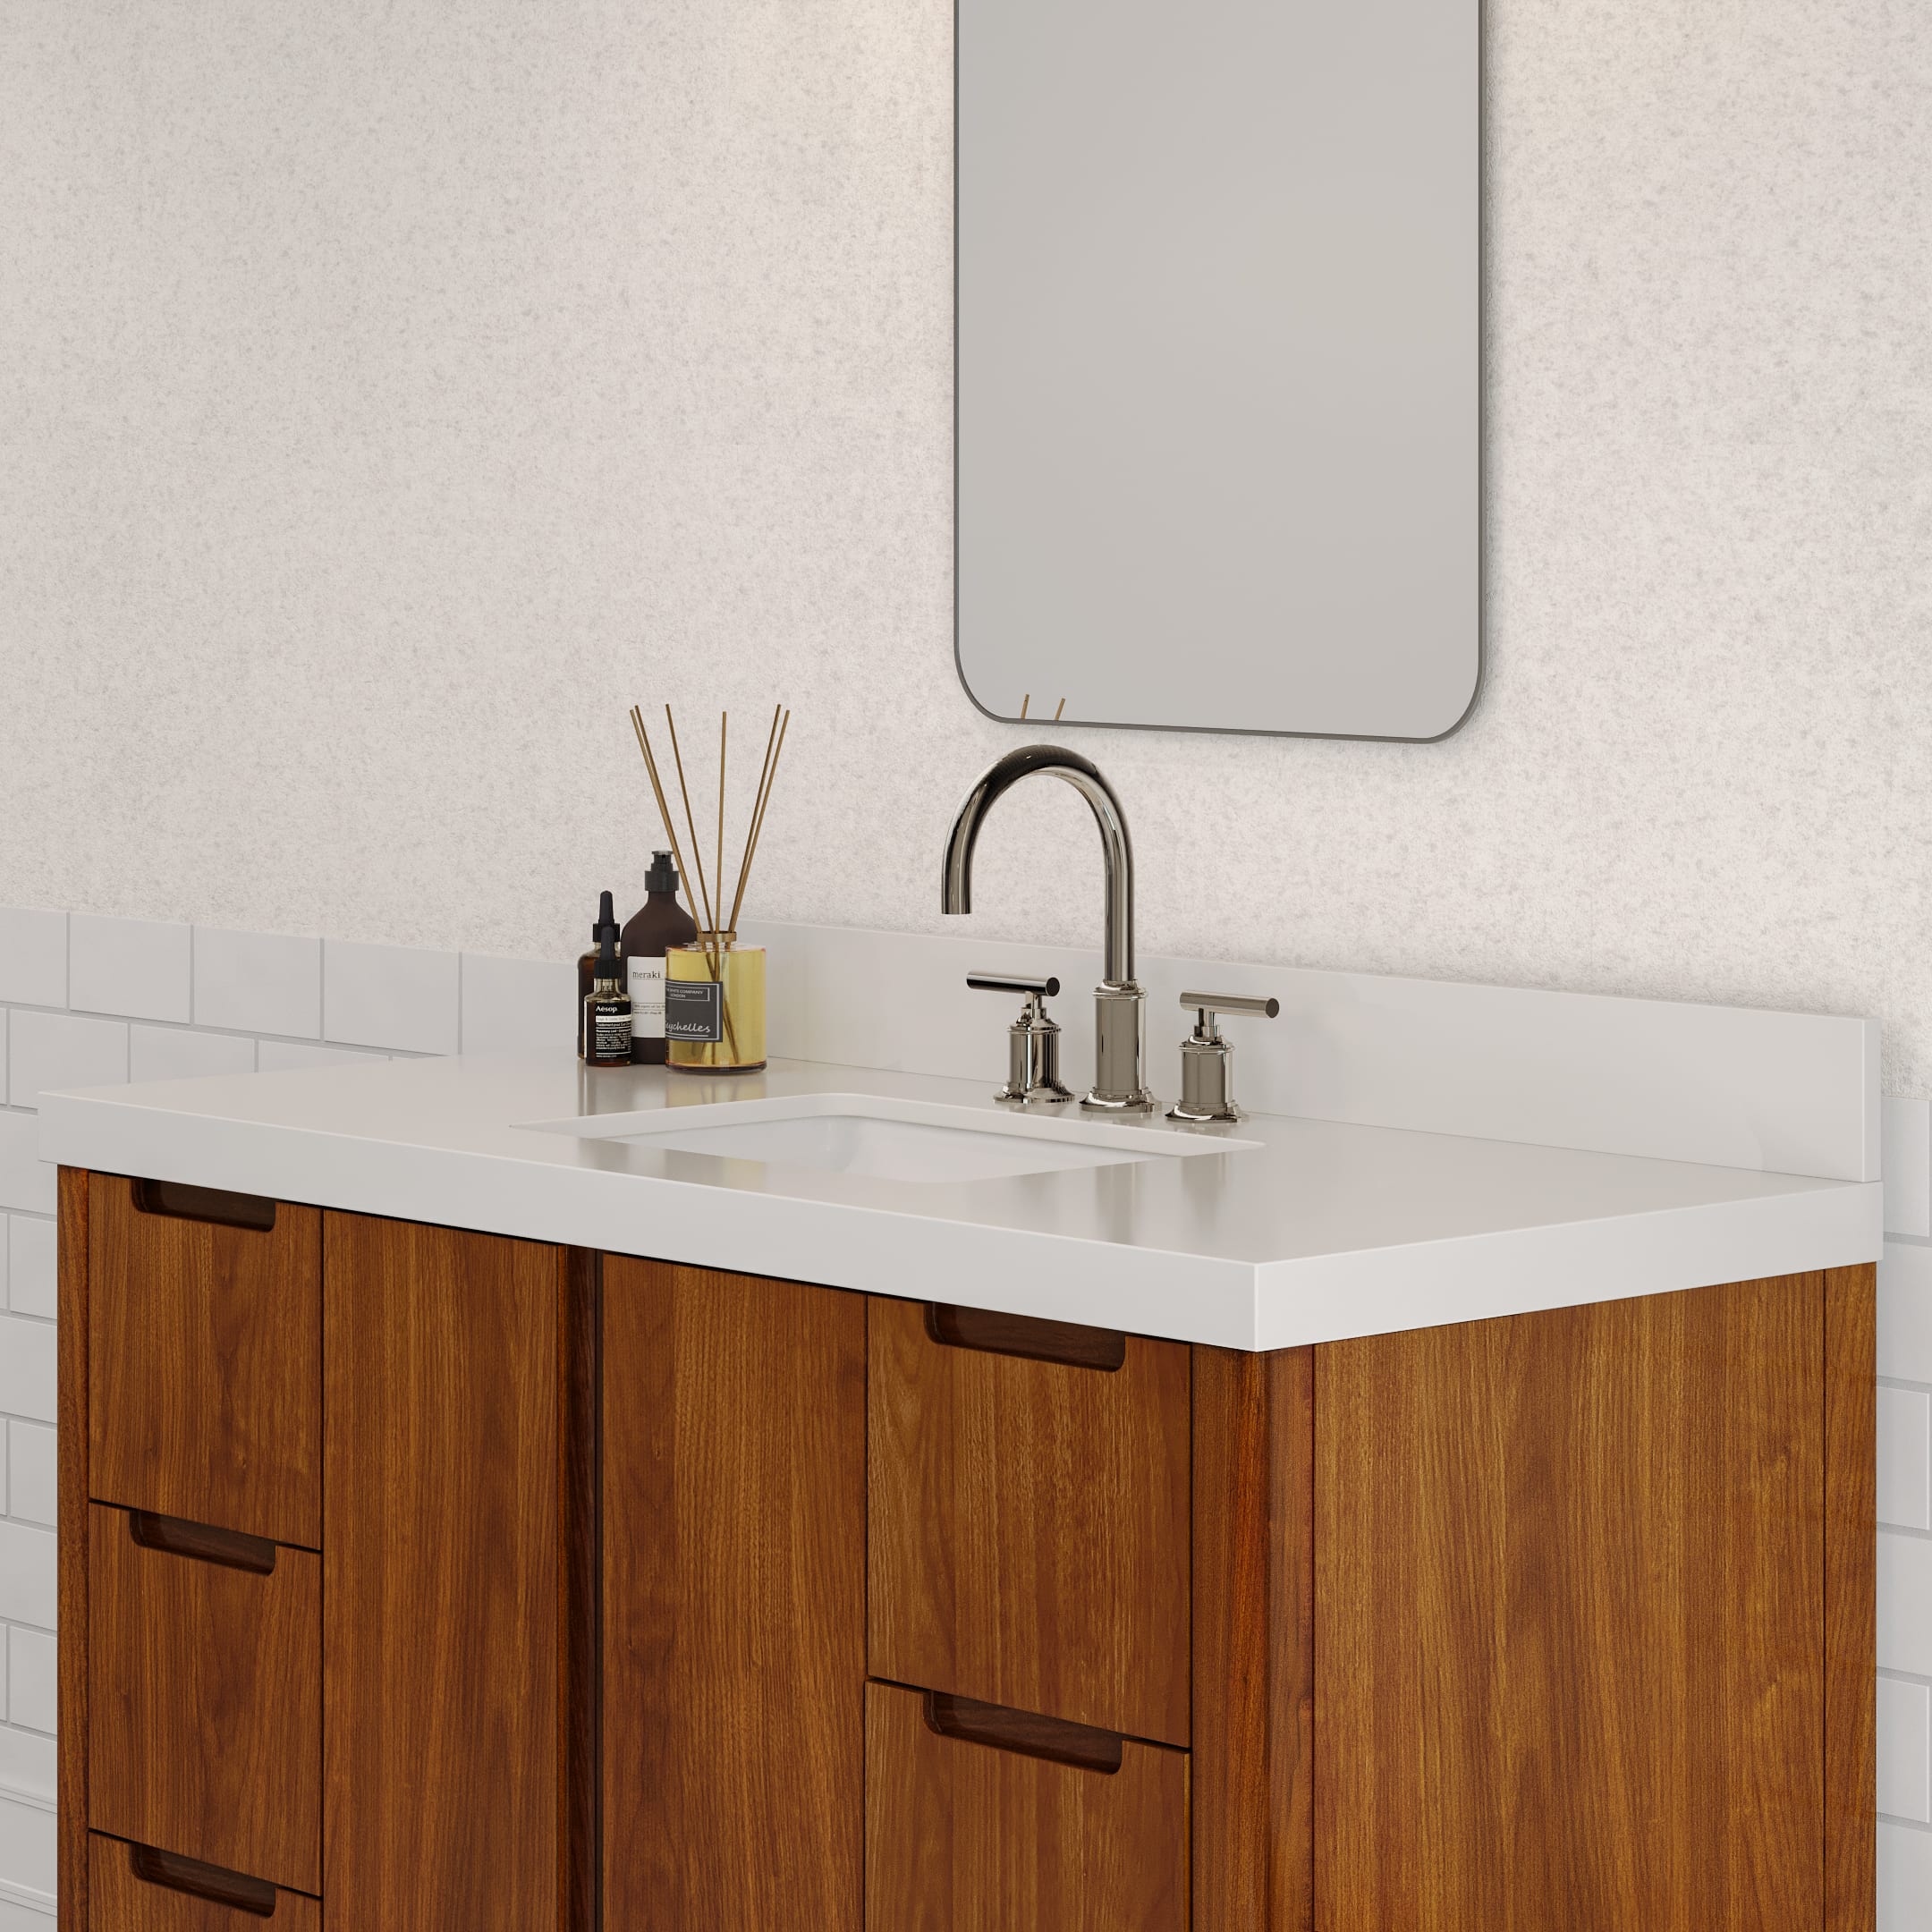
A bathroom vanity backsplash is more than just a finishing touch. It protects your walls from water splashes, soap residue, and everyday messes. Whether made from stone, tile, or quartz, backsplashes help prevent moisture damage and staining while adding a polished, cohesive look to your vanity area. They’re especially useful behind sinks where daily use can lead to buildup or deterioration over time. In this guide, we’ll walk you through the step-by-step process of how to install a bathroom vanity backsplash for a clean, professional finish.
Key Takeaways
-
Purpose: A backsplash protects your walls from water damage, stains, and daily messes, while elevating the overall look of your vanity area.
-
Tools Needed: Silicone sealant, a clean cloth, optional painter’s tape, sandpaper, and a caulking tool for a polished finish.
-
Quick Steps:
-
Clean and prep the wall and vanity surface.
-
Test fit the backsplash for proper alignment.
-
Apply adhesive to the backside and press it into place.
-
Use painter’s tape to secure it while curing.
-
Seal edges with caulk and smooth for a seamless look.
-
-
Pro Tip: Let the adhesive cure for 24 hours before sealing the edges.
-
Bonus: Watch the full tutorial video and shop coordinating backsplashes and vanities for a complete upgrade.
Table of Contents
- Tools & Materials Needed
- 1. Prepare the Surface
- 2. Measure and Test Fit
- 3. Apply Adhesive
- 4. Secure and Let Cure
- 5. Seal the Edges
- Additional Tips
Tools & Materials Needed
 Before you begin, make sure you have the essentials on hand. For a simple backsplash installation, you'll need:
-
Backsplash – the stone or material that matches your vanity top
-
Silicone sealant – to secure and waterproof the edges
-
Clean rags or towels – for wiping surfaces and smoothing sealant
Optional materials include:
- Painter's tape - Holds backsplash and keeps caulk lines clean
- 120-grit sandpaper - Smooths wall for better adhesion
- Caulking tool - Shapes and smooths sealant line
Having these basic tools ready will help ensure a smooth, clean installation from start to finish.
1. Prepare the Surface

-
Clean the area: Wipe down the wall and vanity top where the backsplash will be installed to remove any dust, grease, or debris.
-
Sand if necessary: If the wall is textured, lightly sand it with 120-grit sandpaper to create a smooth surface for better adhesion.
-
Dry thoroughly: Ensure the surfaces are completely dry before proceeding.
2. Measure and Test Fit

- Dry fit the backsplash: Place the backsplash against the wall to check the fit. Make any necessary adjustments to ensure it aligns properly with the vanity top and walls.
3. Apply Adhesive

-
Apply adhesive: Using the silicone sealer, apply a bead of construction adhesive to the back of the backsplash. Focus on the center and ends to ensure even adhesion.
- Note: make sure you are applying the sealer to the BACK SIDE, which has a matte finish and a rougher texture
-
Press into place: Carefully position the backsplash against the wall, pressing firmly to secure it. Ensure it's aligned correctly with the vanity top.
4. Secure and Let Cure

-
Tape in place: Use a few pieces of painter’s tape to hold the backsplash in position while the adhesive sets.
-
Allow to cure: Refer to the adhesive manufacturer's instructions for curing time, typically 24 hours.
5. Seal the Edges

-
Apply sealer/caulk: Once the silicone sealant has cured, apply a bead of sealer/caulk along the seams where the backsplash meets the wall and vanity top.
-
Smooth the sealer/caulk: Use a wet finger or caulking tool to smooth the sealer/caulk for a clean finish.
-
Remove tape: Carefully remove the painter’s tape before the caulk dries to prevent pulling away any sealant.
Check out this video to watch the installation in action:
Additional Tips

-
Side splashes: If your vanity is against a side wall, consider installing side splashes using the same method to protect adjacent walls.
-
Protective film: To further safeguard your countertop and backsplash, especially in high-use areas, consider applying a clear protective film designed for stone surfaces.
-
Regular maintenance: Clean the backsplash regularly with a pH-neutral cleaner to maintain its appearance and longevity.


